Showing posts with label Food. Show all posts

Saturday, 4 October 2014

Lemon and Blueberry Muffins


Muffins are my favourite treats at the moment; they are simple to make, perfectly sized portions, and fun to customise with different flavours. This recipe creates a really soft and moist muffin which tastes fresh with subtle lemon and sweet-and-sour blueberries. It feels almost cleansing to eat a muffin compared with say a brownie, and while I love a gooey brownie, these are for the days when you want need something quick, simple and refreshing.
You don't need to worry about over mixing as with most muffin recipes, the batter is beaten for a few minutes to create a light texture. I actually adapted the recipe from a chocolate cake recipe which I like to use for muffins, and one day I started to make some and found I had to no cocoa powder. I decided to add lemon rind and blueberries and everyone really enjoyed them!


Lemon and Blueberry Muffins
Makes 12 regular muffins
125g butter, softened
220g caster sugar
1 teaspoon vanilla essence
2 eggs
160ml water
250g self-raising flour
1 lemon, zest only
150g blueberries

Preheat the oven to 180c/350f and line a muffin tray with cupcake cases.
Making the muffins is quick and easy using an electric mixer: just weigh out the butter, sugar, vanilla, eggs, water, flour and lemon zest and beat on slow until smooth, then turn the mixer to medium and beat until it has increased in volume and is light and fluffy. Wash the blueberries and toss in flour, to stop them sinking when baked, then stir into the mixture. Spoon even amounts of batter into the cupcake cases; I use an ice cream scoop for this. Bake in the oven for 15-20 minutes. A good way to check if they're done is if a skewer inserted in the center comes out clean.
Enjoy your delicious muffins fresh from the oven! Most muffins are best eaten on the day... but these are surprisingly still good on the next day.

Wednesday, 10 September 2014

Visit to National Trust Standen

First of all, I apologise (to any reader that has stuck around this long!) for the lack of posts. I'm planning to do a summer sewing review post so you can see what been keeping me so busy! And now...
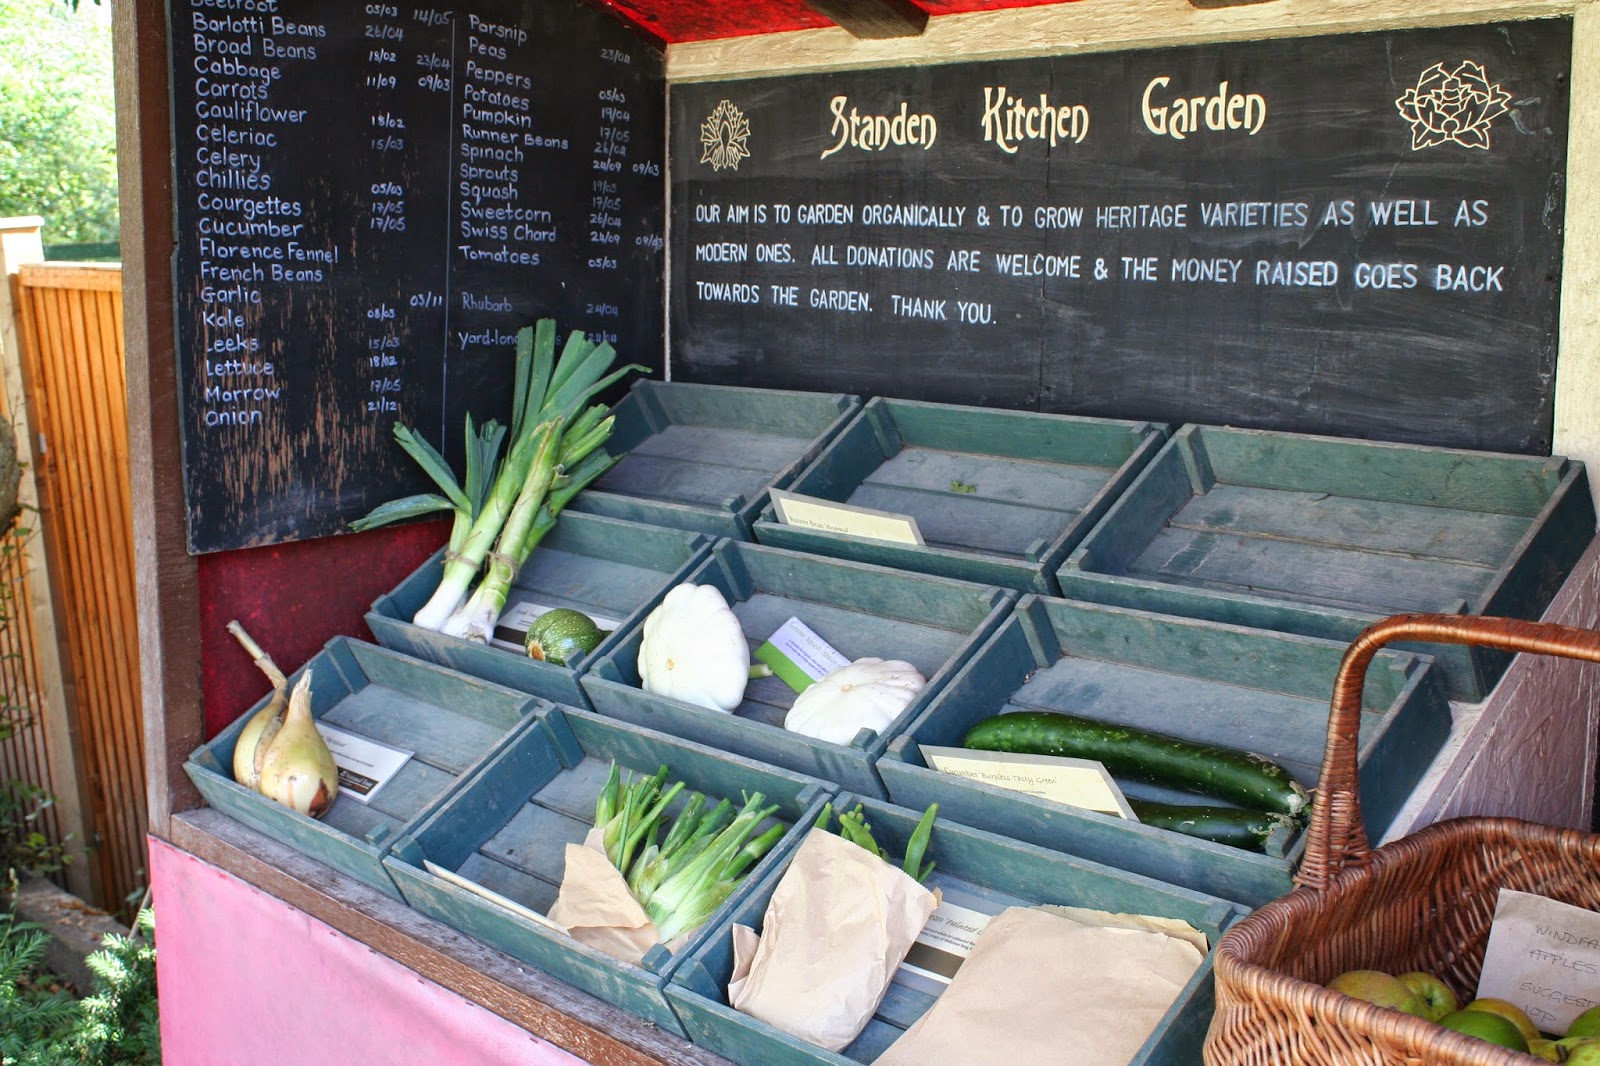
This week we visited Standen, which is a beautiful late Victorian house and gardens in Sussex. (Yes, on a weekday... the joys of homeschooling!) I used to quite dislike trailing around old houses and gardens which all looked the same to me, but in recent years I've come to love visiting National Trust properties. I hadn't used my camera for a while so decided to bring it along and I was pleased because there were lots of lovely photo opportunities. The sun was shining and I was able to learn a bit more about using manual setting on the camera. First we went to the kitchen garden, which was full of produce and beautiful flowers.


Flowers in the kitchen garden, it was fun to experiment with focus.


I was really pleased to take photos of the large white butterfly and wasp because I've been trying to get a close-ups like this for ages and never succeeded!


We went for a walk to other parts of the garden, including the orchard which had beehives, and my sister pointed this beautiful butterfly out to me. I'm trying to work out what species it is.

Fresh flowers and vegetables from the kitchen garden for sale.


We had a guided 'taster' tour of the house which was very interesting as we learnt about the Beale family who lived here, Philip Webb the architect who designed much of the interior as well, and Morris & Co. which designed much of the wallpapers and other furnishings. I really liked to rather unusual style from the Arts & Crafts movement combined with the feeling that it was a family home. I went back to take some pictures:


The billiard room, where the men got together on wet days.

Some of the crockery on display in the dining room.

All the bedrooms we saw had their own dressing rooms.

I liked the colours of this bathroom. There were only two bathrooms in the house, most people used a tin bath in their bedrooms.

Mrs. Beale and her daughters embroidered this fine screen from a Morris & Co. kit.

An example of the wallpapers in the house.

After a picnic we relaxed in the garden. This is the back of the house, and you can see the sandstone blocks which came from a quarry on the large estate. Also the lovely flowers everywhere!


As you can tell I really enjoyed the day out and loved the house and gardens, especially learning about the design element. Please comment if you enjoyed reading, and let me know what you think the red butterfly is!

Monday, 25 August 2014

Chocolate and Cranberry Bunt Cake {recommended recipe}

Recently I was pleased to receive a bunt cake tin from a friend, especially as I've seen so many beautiful ideas on pinterest. I found this recipe from All recipes UK but as it makes such a large cake I saved the idea until I had a crowd to feed! The recipe uses a lot of ingredients... 6 eggs in fact, but makes a very soft, moist chocolate cake which looks very impressive. I think the tin is this one from lakeland, it's very large, sturdy, and the cake came out well.


Mum suggested I add dried cranberries when we saw them in the shop, and I really liked the sweetness and texture pop that they added. I used all of an 150g bag of dried cranberries and drizzled 150g white chocolate over the top. Next time I'll try to use a better quality chocolate, and improve my drizzling. The cake stayed warm for quite a while, which made it even more pleasurable to eat but a bit more crumbly to slice. Everyone really liked the taste of the cake, and it looks pretty impressive so if you are making cake for a crowd, I would recommend the Chocolate Bunt Cake recipe.

Thursday, 7 August 2014

Chocolate and Vanilla Ice Cream

One of the things that excited me about moving into a bigger house a few years ago was being able to give hospitality more easily. We've kind of got into a rhythm preparing for Sunday afternoon company, so it's probably the food that takes the most effort. But my favourite thing to prepare is dessert. In winter I like to go for big chocolate puddings, fruit crumbles, and pies. Summer bring more variety, with an abundance of fresh fruit to serve. I love the food of summer: light buffets, barbecues, and eating in the garden. I sometimes think about the food heritage we have and how I might be serving these dishes to my children one day. 


Last Sunday my mum asked me to make dessert, and when I was thinking about what to make she suggested ice cream. I have helped my older sister make ice cream a few times before so I was excited to give it a try myself. To make ice cream you make a flavoured custard and then freeze it, and that takes time. But it really is worth it, homemade ice cream just can't be compared to shop brought, the flavour is so much more intense, and it's so smooth and creamy! The finished product was served with strawberries, and all fifteen tasters said it was really good. In fact, I couldn't resist a sneaky teaspoon straight from the freezer that evening!


I changed a few things from the recipe in Green & Black's Chocolate Recipes. I used real vanilla extract with seeds instead of a vanilla pod, because it's cheaper and easier to get. When my custard curdled a bit (I hadn't been paying enough attention to it!) I whisked it with electric beaters until it was smooth again. I had forgotten to put the ice-cream maker bowl in the freezer for the vanilla ice cream, and you can't just stick cooled custard in the freezer and expect it to turn out smooth. Thankfully, this video recipe showed a method of making smooth ice cream without an ice cream maker, and even though I didn't have time to chill the custard overnight, it worked great!


Vanilla Ice Cream 
Adapted from the 'Green & Black's Chocolate Recipes' book. Makes 6 servings.

250ml double cream
250ml full cream milk
2 tsp real vanilla extract with seeds
3 large egg yolks
100g caster sugar
Note: If you are using an ice-cream maker, make sure you have frozen the bowl for the required amount of time before starting on the recipe.

•   Pour the milk, cream and vanilla into a large saucepan an bring to the boil, then leave it to infuse cool slightly for about 10 minutes. Cover the surface with a layer of clingfilm to prevent a skin forming. 
•   While you wait for the milk and cream mixture, separate three eggs, setting aside the egg whites for another recipe. Whisk the eggs yolks and sugar until they become thick and paler (this won't take too long.)
•   Add a small amount of the milk and cream to the egg mixture and whisk until incorporated, then pour over the rest and continue to whisk until blended. Return the pan to a medium heat, stirring very often to prevent curdling until the it thickens up enough coat the back of a spoon. 
•   Leave the custard to cool, and then churn in an ice-cream maker according to the manufacturer's instructions, then scrape into a tub and freeze until firm enough to scoop. Or if you don't have an ice cream maker, you can put it in the freezer and take it out every hour (for the first three hours) to whip it up until smooth, creating a perfectly smooth ice cream. You made it, now enjoy sharing it!

Chocolate Ice Cream
250ml double cream
250ml full cream milk
3 large egg yolks
100g caster sugar
125g quality dark chocolate

•   Use the same method for making Vanilla ice cream up until you have a thick custard. 
•   Melt the chocolate in a heatproof bowl short bursts in the microwave. Then add it to the custard and stir until combined. Leave the custard to cool in the fridge before churning.
•   Churn the custard in your ice-cream maker according to the manufacturer's instructions, scrape into a tub and freeze until firm enough to scoop. Or if you don't have an ice cream maker, you can put it in the freezer and take it out every hour (for the first three hours) to whip it up until smooth, creating a perfectly smooth ice cream. You made it, now enjoy sharing it!


Wednesday, 30 July 2014

Plum and Oatmeal Loaf Cake

Every summer we receive plums in abundance my granddad's orchard and a few from our back garden plum tree. Ripe plums are soft, juicy and not too sweet, but however delicious they are, there are only so many we can eat. So a large proportion get turned into cakes, my older sister and I each having a preferred recipe.  I was a bit rushed in taking photos but I thought I'd share this recipe anyway as it's such a favourite of mine.
It's always nice to use seasonal produce, especially when you know where its come from, and plums are perfect for cakes as they stay soft but not soggy. This madeira cake is made with oatmeal which gives it a really good texture as a loaf.


There's something I really like about loaf cakes, which I can't really put my finger on. They're a good size and easy to serve, a look nice plain and unadorned. The little drizzle of orange icing makes this a little more elegant and adds a small extra texture and sweetness. My drizzling isn't very neat, and the cake isn't a great looker, but often it's the more rustic cakes that taste the best. Sugary perfection in cake decorating doesn't always to taste as good as it looks! And I can promise you this delivers on flavour, deep plum with hints of orange. I added ginger to my last cake and thought it went nicely with the plums. 


Plum and Oatmeal Loaf Cake

250g English plums
100g butter, softened
1 orange, zest and juice 

2 medium eggs
125g self-raising flour 
1⁄2tsp baking powder
1 tsp ginger, optional
50g medium oatmeal*
100g icing sugar

*To make oatmeal yourself, grind up 125g porridge oats and then pass through a sieve to remove any remaining whole oats.


•   Preheat your oven to 170C and line a loaf tin. I've found these loaf liners from Lakeland very useful. Halve the plums and take out the stones, then slice them into medium pieces. 
•   Beat together butter, orange zest and sugar until pale and fluffy. Beat in the eggs one at a time, plus a tablespoon of the flour with each to prevent curdling. Sift in the remaining flour and the baking powder. Add the oatmeal and mix to combine.
•   Stir in two-thirds of the plums and tip into the loaf tin. Scatter remaining plums on top. Bake for 50-60 minutes until golden and firm to the touch. Carefully remove from load tin and leave to cool on a wire rack. 
•   While the cake is cooling make the icing: beat together the icing sugar and enough orange juice to make a smooth paste. Once the cake is cooled, drizzle over the icing and enjoy!

Sunday, 22 June 2014

Strawberry Shortcakes {recommended recipes}

The day I made this recipe was filled with some of the best bits of summer. In England the sunshine definitely worth waiting for, because it brings strawberry season, and trips to Garson's Pick-Your-Own Farm. Last year we went in September, and came home loaded with punnets of soft, sweet, juicy plums. This year they had raspberries beginning to be ripe, perfect gooseberries, broccoli, spinach, and delicious sugarsnap peas. Strawberries were the main crop, the huge field filled with neat rows of ripe strawberry plants.


This year my little sister was old enough to enjoy what was going on and she loved pulling carrots and picking gooseberries and strawberries. Imagine her surprise when she pulled up a plant from the ground and found a carrot! Everyone gets pretty excited actually, to see so much growing and to pick some, especially as our own gardening efforts haven't gone too well. 


As we picked we talked about what desserts we would make, gooseberry cream crumble, raspberry roulade, strawberries and cream. When I was searching for what to make that evening I decided, on a whim, to find out what strawberry shortcake was. There were a lot of big cakes, but Nigella's recipe had perfect little individual scone-like shortcakes with crushed and fresh strawberries, plus cream.


The dough is made with cream and it's very soft, producing a shortcake that with heavenly lightness. For me, they were a definite improvement on scones. Half the strawberries were mushed with sugar and balsamic vinegar (absolutely delicious) and put under the fresh strawberries. It's great to see the strawberries growing, pick them, and then 5 hours later to eat them. Cream would have been an improvement, but they were delicious without. I would totally recommend this recipe, it feels like the perfect celebration of summer!


. . .
Now I am getting a little busy to do so much blogging, I thought I'd start a new series. {recommended recipes} will be reviews and photographs of recipes from the internet that I've successfully made. See all of them here. Enjoy!

Sunday, 8 June 2014

Mocha Torte {recommended recipes}


June is full of birthdays for my family, so theres always a bit of a scramble when it comes to who's making the cakes. I got to make my Dad's cake this year, and I knew straight away that it should be chocolate. I searched around pinterest for ideas, as I wanted something different, but I just found loads of 'best ever chocolate cake' recipes.


Then I remembered that I'd been wanting to try a special occasion cake from The Caked Crusader blog, as they always look really good! The mocha torte looked perfect, combining my Dad's love of chocolate and coffee. As I read through the recipe it sounded better and better: a hazelnut base.... baked ganache filling... coffee cream... more hazelnuts.


As I had a busy weekend I could spread the work by making one element at a time. I decided to go for a simple topping of roasted chopped hazelnuts instead of the extra cream and chocolate on top. All the elements were really nice and balanced well, with contrasting and complimenting flavours and textures. It's very rich, which was appreciated, and as we couldn't manage big slices there will be enough left for another slice each (if Dad doesn't get there first!) a rare thing in a big family. So yeah, I would totally recommend this Mocha Torte recipe!


. . .
Now I am getting a little busy to do so much blogging, I thought I'd start a new series. {recommended recipes} will be reviews and photographs of recipes from the internet that I've successfully made. See all of them here. Enjoy!

Sunday, 18 May 2014

Banana and Oatmeal Weekend Muffins

My favourite weekend food is breakfast. Evidenced here by pancakes. Here by cinnamon rolls. And now here with my weekend muffins. Only on the weekend can I get up late have time to mix up a batch of something delicious. I made these with my little brother and we enjoyed eating them together with the family... the relaxed way to start off the sunny weekend proceedings.


Today I chose muffins because they are simply so good, and easy, and we had bananas to use. I can't justify letting my favourite fruit go to waste! The recipe had the nice addition of oatmeal, which is probably what makes them so soft and light. My little brother liked stirring everything together and squeezing the banana through the potato ricer, which is a good way of making a smooth banana mush without spending all that time with a fork.


As for comments on the finished products, I'm leaving that up to three budding young testers, aged six, nine, and eleven.

"I liked making them. They were nice because they were hot. I wouldn't like them cold but they were nice hot."

"They were very yummy and a good size."

"These cute little muffins were light in texture and the banana gave a lovely mellow sweetness which served with melting butter made a delicious weekend treat."


Banana and Oatmeal Muffins
250g self-raising flour
125g oatmeal*
180g caster sugar
60g butter, melted
250ml milk
2 eggs
2-3 bananas, mashed
*To make oatmeal yourself, grind up 125g porridge oats and then pass through a sieve to remove any remaining whole oats.

•   Preheat the oven to 200ºC/400ºF and butter a 12-hole muffin tin. Mix together the flour, oatmeal and sugar in a large bowl. Make a large hole in the centre. 
•   In another bowl break up the eggs yolks and whisk in the milk with a fork. Add the mashed banana and melted butter and roughly combine. Pour into the flour mixture and mix with a wooden spoon. The batter should still be fairly lumpy, take care not to over-beat.
•   Divide mixture between the holes of the muffin tin. Bake for 15 minutes and eat warm with butter. 

Saturday, 12 April 2014

The Ultimate {Double} Chocolate Cookies


In our family we've tried a lot of different cookie recipes, all of them claiming to be delicious, and most of them were. But when we found this recipe, it made the best cookies yet! They are richly chocolatey, not over sweet but not bitter either. Texture-wise, they are perfect too: just chewy at the edges, then almost gooey at the centre, even when they're cooled and have been stored for a day. They are so satisfying, yet so more-ish. Guests love them! My younger sister and I have never made any other chocolate cookie recipe since.


I've got a bit of a confession behind this particular batch of cookies. They are not the best I've ever made. You see I wanted to make these cookies so badly that even though we only had caster sugar (and the recipe uses soft brown sugar) I made them anyway. And I didn't use chocolate chunks (we had none of those either.) So although they looked nice, they were, to put it mildly, crisp. Lesson learned: use the right sugar (duh me!) and get the chocolate chunks. These cookies are worth it!  


The Ultimate {Double} Chocolate Cookies
Makes around 20 cookies


125g soft butter
275g brown sugar
1 egg
150g plain flour
35g self-raising flour
1/2 tsp bicarbonate of soda
35g good-quality cocoa powder
150g roughly chopped chocolate
or instead the same amount of m&m’s/peanut m&m's/smarties


•   Preheat the oven to 180'C/160'C fan-forced, and line two baking trays with greaseproof paper.
•   In a large bowl, beat together the butter, sugar and egg with an electric mixer until smooth. Weigh out the dry ingredients and mix them together, then sift into the butter, sugar and egg and mix to combine. Lastly mix in the chocolate.
•   Roll tablespoonfuls of the mixture into balls on the tray, allowing about 5cm space for the mixture to spread. Bake for about 10 minutes. It is important to leave them on the tray for 5 minutes afterwards before you transfer them to a wire rack to cool. 
•   Cookies can be stored in an airtight container for a couple of days... if they last that long!

Monday, 7 April 2014

Easter Inspiration

It's been a while ages since I last posted anything as I've been busy (yeah, you guessed it!), and I kind of forgot all about easter until I realised that we are on easter holidays for the next two weeks. So although I haven't made anything for a while, I have been storing up inspiration for you. The following post will be a bit of a mish-mash of pretty, easter-y things, from old favourite bakes to new craft ideas.

Painted Easter Bunny Jars- these look so cute and so effective! Paint and craft cute easter bunnies out of baby food jars and fill them with easter treats to give as gifts.

photo: dotcomgiftshop
Hand Painted Hanging Easter Eggs- another idea for a sweet easter gift, especially as they come in a cardboard egg box and you could hang them out in the garden for an egg hunt!

photo: magpie patterns
Chubby Chirps- use your leftover yarn to create a clutch of chicks nearly as cute as the real thing! They would make such cute easter decorations on the mantelpiece and lovely gifts.

photo: lakeland
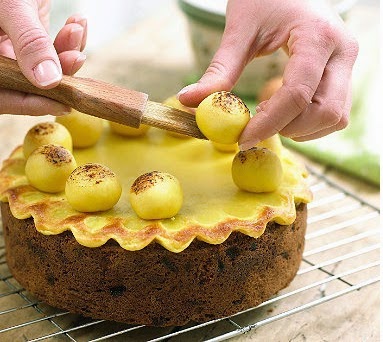
Simnel Cake- This is a recipe for a classic easter cake and a favourite in our house and I can't wait to make it again soon.

photo: soulemama
Gratitude Wrap- I know this isn't particularly easter themed, but I was really pleased to receive one of these from my mum a while ago, and I've got into writing letters and cards this spring. pdf here.

Tuesday, 18 March 2014

Spring Time Biscuits

Spring has come very softly this year, with some days cold and grey as we are so used to, and then I
go outside on the next in bright sunlight likes and the birds are singing! It's strange how I always forget in winter what it's going to be like in spring, how it feels to go outside without a coat on, like coming out of hibernation again. In fact, spring's fleeting presence made me so excited I decided to celebrate... with food of course. Sweet, pretty food to be sure: tiny little biscuits with pretty coloured icing!


The recipe for the dough and icing is here. On the blog post I've called them cookies, but spring has come to England and thus I have to call them biscuits. I always use this recipe as the biscuits always taste good and keep their shape well, and they keep pretty well too. My younger brother and sister helped and we had a lot of fun deciding what shapes to make for our little springtime scene.


The only changes I made to to the recipe were coloured the green icing using natural green food colouring and the pink with pink lustre dusk for extra shine! I first piped around the edges of the cookies and then flooded them with icing. The icing has to be quite thick for this to work well. I don't really know why I put it on a paper background, but I did.